
I know how confusing it can feel when you want to build a website but don’t know where to begin. In this guide, I’ll walk you through how to build a website from scratch, even if you’re a complete beginner.
When I launched TechAnther, I faced the same sea of technical jargon and confusing hosting plans that you’re seeing now. Today, as a professional Web Developer and WordPress expert, I help clients cut through that noise to build high-performance digital brands.
A common myth persists that building a professional website requires either an expensive degree in computer science or a five-figure budget for an agency. In 2026, this could not be further from the truth. With the advent of sophisticated Content Management Systems (CMS), AI-assisted design tools, and streamlined hosting environments, anyone with a laptop and a vision can launch a world-class site in a matter of hours.
In this guide, I will break down every single component of website creation. From the psychological nuances of choosing a domain name to the technicalities of Schema markup and server-side caching, this is your roadmap to digital success.
Phase 1: Strategic Planning and Niche Research
Before you register a domain or click a single button, you must define the “Soul” of your website. A website without a strategy is like a ship without a rudder; it might look good, but it won’t get you where you want to go.
1. Identifying Your Core Objective
Every successful website serves a primary function. Before proceeding, determine which category your project falls into:
- The Authority Blog: Aimed at sharing expert knowledge, building an email list, and eventually monetizing through ads or affiliate marketing.
- The Professional Portfolio: Designed to convert visitors into clients or employers by showcasing high-quality work.
- The Strategic Business site: Aimed at showcasing professional services, building client trust through authority, and eventually converting visitors into high-paying leads or service contracts.
- The E-commerce Powerhouse: Focused on a seamless user journey from product discovery to checkout.
- The Community Hub: Built around forums, memberships, or user-generated content.
2. Audience Personas and User Intent
Who is your ideal visitor? If you are building for a tech-savvy audience (like readers of TechAnther), you need a high-performance, minimalist UI. If your target is the “Hosting Counsellor” niche, your audience is looking for technical reliability, comparison data, and trust signals.
- Demographics: Age, location, and preferred devices.
- Psychographics: What problems are they trying to solve? What keeps them up at night?
- Search Intent: Are they looking for information (Inspirational), or are they ready to buy (Transactional)?
3. Competitor Gap Analysis
Analyze the top 5 websites in your chosen niche. What are they doing well? More importantly, where are they failing? Perhaps their sites are slow, or they lack a mobile-responsive design. By identifying these gaps, you can build a site that immediately outperforms the competition.
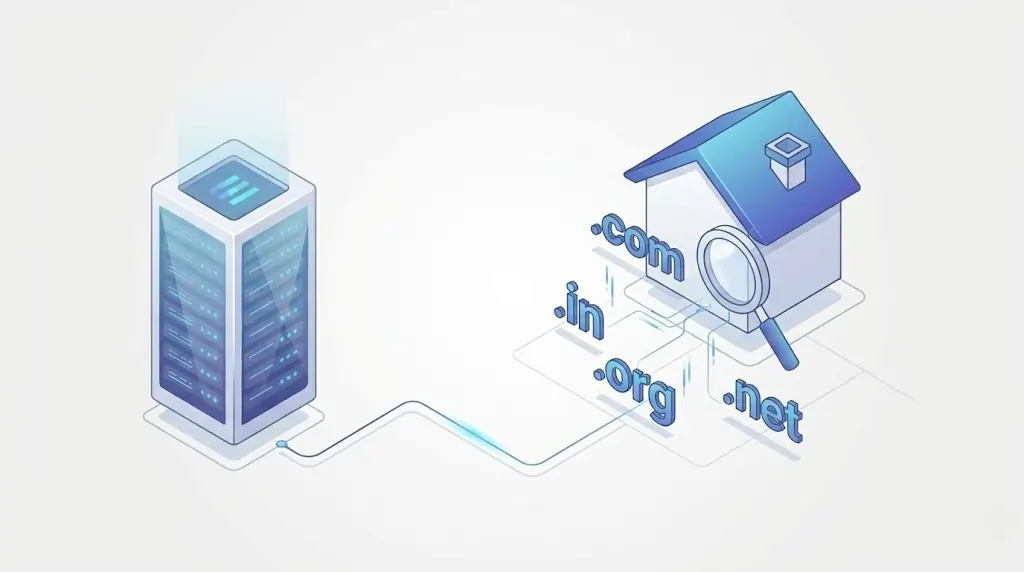
Phase 2: The Digital Infrastructure (Domain & Hosting)
If your website is a house, the Domain is the address on the map, and the Hosting is the physical land and foundation. Choosing the wrong foundation can lead to your “house” collapsing under the weight of high traffic.
1. Mastering the Domain Name
Your domain (e.g., aniilroy.com) is the first thing users see. It carries immense branding and SEO weight.
- The .com Supremacy: While
.io,.netand.coare popular,.comstill carries the highest level of consumer trust and is easier for users to remember. - Keyword vs. Brand: Should you include keywords (e.g.,
bestwebdesigners.com) or go for a brandable name (e.g.,aniilroy.com)? In 2026, brandable names are generally better for long-term growth and avoiding “exact match” search penalties. - Legal Clearance: Ensure your name doesn’t infringe on existing trademarks. Use tools like the USPTO database to check.
2. Decoding Web Hosting Types
Not all hosting is created equal. For a beginner, the choices can be overwhelming:
- Shared Hosting: The most affordable option. Multiple websites share one server’s resources. Ideal for sites with about 10,000 visitors per month.
- VPS (Virtual Private Server): A middle ground where you have dedicated resources on a shared physical server. Perfect for growing blogs or small businesses.
- Managed WordPress Hosting: Specialized hosting where the provider handles updates, security, and performance. This is highly recommended for beginners who don’t want to deal with technical maintenance.
- Cloud Hosting: Uses a network of servers to ensure 99.99% uptime. If one server goes down, another takes over.
3. Essential Hosting Features to Look For
- SSL Certificates (HTTPS): Non-negotiable. Google marks sites without SSL as “Not Secure,” which can seriously damage both your search rankings and user trust.
- NVMe SSD Storage: Much faster than traditional HDD or even standard SSD storage.
- CDN Integration: A Content Delivery Network (like Cloudflare) stores copies of your site in global data centers, ensuring fast loading for users in any country.
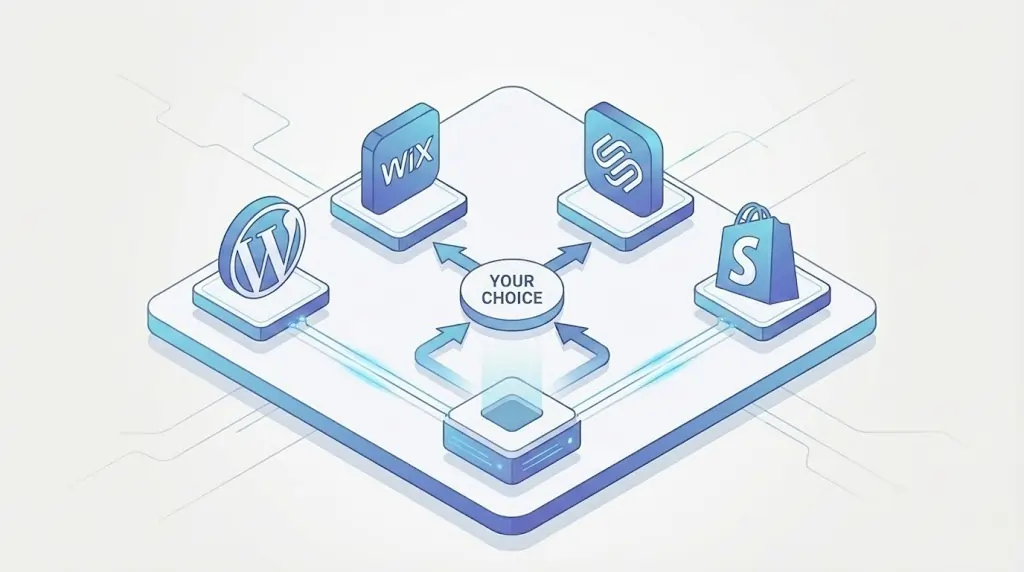
Phase 3: Choosing the Right Platform (The CMS Debate)
The platform you select determines the flexibility and control you’ll have over your website. While there are “Site Builders” like Wix, Squarespace, and Shopify, for a truly professional and scalable site, WordPress.org is the industry standard.
Why WordPress.org (Self-Hosted) is the Winner
- Ownership: You own your files. If you want to move to a different host, you can. Site builders like Wix lock you into their ecosystem.
- Scalability: Whether you have 10 pages or 10,000, WordPress can handle it.
- The Plugin Ecosystem: With over 60,000 free plugins, you can add any feature imaginable (booking systems, online courses, forums) without writing code.
- SEO Native: Search engines love the clean, hierarchical structure of WordPress.
Phase 4: Installation and Core Configuration
Once you have purchased your hosting, most providers (like Hostinger, SiteGround, or Bluehost) offer a “One-Click Install” for WordPress.
The Initial Setup Checklist
After the installation is complete, log into your dashboard (yourdomain.com/wp-admin) and perform these critical steps:
- Permalink Settings: Go to Settings > Permalinks and select “Post Name.” This ensures your URLs look like
aniilroy.com/sample-post/this instead ofaniilroy.com/?p=123. - Delete Default Content: Remove the “Hello World” post and the “Sample Page” to keep your site clean.
- Site Title and Tagline: Set these under Settings > General. This is what often appears in search engine results.
- Timezone and Language: Ensure these are correct to keep your scheduled posts accurate.
Phase 5: Designing a High-Converting Interface
Design is not just about how a site looks; it’s about how it works. A beautiful site that is hard to navigate will have a high “Bounce Rate” (people leaving immediately).
1. Choosing a Lightweight Theme
In 2026, Google considers Core Web Vitals as part of its ranking system, which means website speed directly affects your search visibility. Heavy, multi-purpose themes packed with 50+ unused features and plugins can slow down your site and hurt performance. Instead, choose a lightweight, performance-focused theme built for speed:
- Astra: Popular for its fast loading times and rapid adoption among WordPress users.
- GeneratePress: Ideal for developers who prefer clean, minimal, and efficient code
- Kadence: Delivers strong performance while offering excellent design flexibility.
- Blocksy – A modern, speed-optimized theme with powerful customization options and minimal bloat.
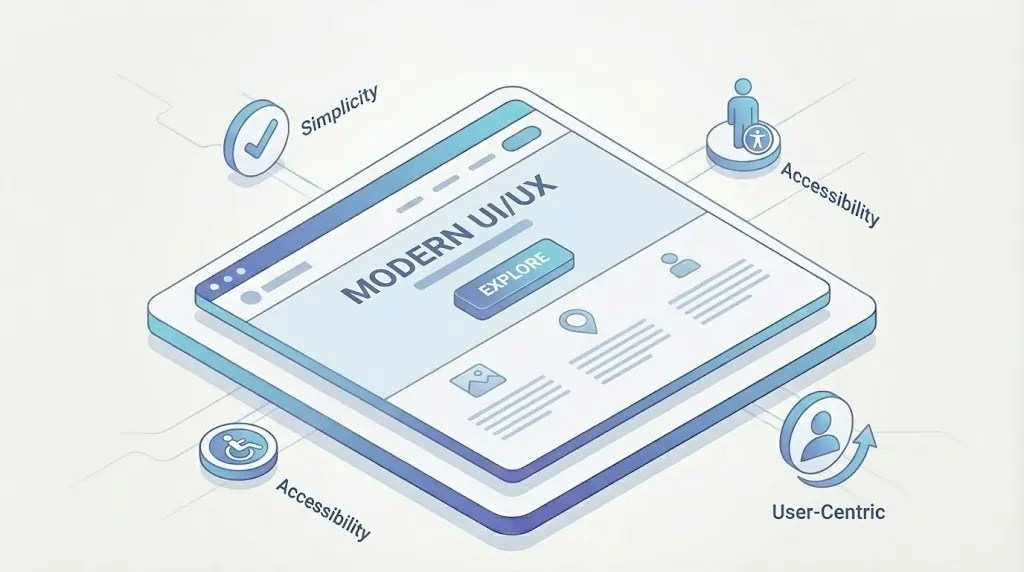
2. The Principles of Modern UI/UX
- The F-Pattern: Users typically scan web pages in an “F” shape. Place your most important information (CTA buttons, headlines) along this path.
- Whitespace is Your Friend: Don’t clutter the screen. Whitespace (or “negative space”) helps the user focus on your content.
- Typography: Use no more than two font families. One for headings (serif or bold sans-serif) and one for body text (highly readable sans-serif).
- Mobile-First Design: Over 60% of web traffic comes from mobile users. Always check how your design looks on a smartphone before finalizing it.
3. Drag-and-Drop Builders
If you want to design custom layouts without touching code, drag-and-drop page builders make the process simple and flexible. These tools let you visually arrange elements while maintaining control over your site’s design.
- Elementor: Elementor is the industry leader in visual website building, offering a wide range of design options and an easy-to-use interface.
- Spectra (Gutenberg Blocks): A newer, faster way to build pages using the native WordPress editor, ensuring your site remains lightweight.
Phase 6: Powering Up with Essential Plugins
Think of plugins as the “Apps” of your website. However, the “Less is More” rule applies here. Too many plugins will slow down your server and create security vulnerabilities.
The Essential Stack:
- SEO: Rank Math or Yoast SEO. These act as your personal SEO consultants, telling you exactly how to optimize your content for Google.
- Security: Wordfence Security. Essential for blocking “Brute Force” attacks and scanning for malware.
- Speed: WP Rocket (Paid) or W3 Total Cache (Free). These plugins minify your code and enable browser caching, making your site load in under 2 seconds.
- Backups: Use the UpdraftPlus Plugin. Never trust your host’s native backup alone for backups. Schedule weekly backups to a remote location such as Google Drive or Dropbox.
- Forms: WPForms or Fluent Forms. Create “Contact Us” pages, surveys, and lead generation forms.
- Image Optimization: ShortPixel or Smush. These automatically compress the images you upload so they don’t slow down your site.
Phase 7: Content Strategy and On-Page SEO
Content is the reason people visit. SEO is the reason they find you.
1. The Anatomy of a Perfect Blog Post
- The H1 Headline: Must be catchy and include your primary keyword.
- Introduction: Hook the reader in the first 100 words. Mention the problem you are solving.
- Subheadings (H2, H3): Break up the text. Google uses these to understand the hierarchy of your information.
- Internal Links: Link to at least 2-3 other pages on your own site. This passes “Link Juice” and keeps users on your site longer.
- External Links: Link to high-authority sources (like Wikipedia or official industry sites). This shows Google you are well-researched.

2. Creating Pillar Content
Instead of writing 10 short posts, write one massive “Pillar” post (like this guide). Pillar content establishes you as an authority and is much more likely to earn backlinks from other websites.
Phase 8: Advanced SEO and Technical Optimization
To compete with established websites and appear at the top position in search results, you need to go beyond basic SEO practices and focus on technical optimization.
1. Schema Markup (Structured Data)
Schema is a behind-the-scenes code that helps search engines better understand your content. For instance, Review Schema lets Google display star ratings in search results, while Recipe Schema highlights details such as cooking time and calorie information. You can easily add these using the Rank Math plugin.
2. Search Engine Console (GSC)
Google Search Console is a free tool that shows how people discover your website through search. It helps you identify the keywords bringing traffic, monitor indexing status, and detect issues such as crawl errors or security problems. It also alerts you if your site has been hacked.
- Action: Submit your “Sitemap” (generated by your SEO plugin) to GSC immediately after launching so Google can properly crawl and index your pages.
3. The Power of Backlinks
A backlink is when another website links to yours. It is like a “vote of confidence” in the eyes of Google.
- Strategy: Reach out to other bloggers in your niche (like TechAnther) for guest posting opportunities.
- Warning: Never buy cheap backlinks on sites like Fiverr. These are “Black Hat” techniques that will get your site banned from Google.
Phase 9: Monetization Strategies
Once you have traffic, how do you turn it into a business?
- Affiliate Marketing: Recommend products you love and earn a commission on every sale. This is the most popular method for beginners.
- Display Ads: Join networks like Google AdSense or Ezoic. Once you hit 50,000 monthly sessions, you can join high-paying networks like Mediavine.
- Digital Products: Sell E-books, online courses, or premium templates. This has the highest profit margin because there are no shipping costs.
- Services: Turn your platform into a professional service hub where you can showcase your offerings and allow clients to book consulting calls easily.
Phase 10: Security, Maintenance, and Growth
Launching is just the beginning. You must maintain your digital asset to prevent it from decaying.
1. The Weekly Maintenance Checklist
- Update Plugins and Themes: Developers release updates to fix security holes. Check this once a week.
- Monitor Site Speed: Use Google PageSpeed Insights. If your score drops, investigate which plugin or image is causing the lag.
- Check for Broken Links: Use a “Broken Link Checker” tool to ensure your users don’t hit a 404 error page.

2. Security Best Practices
- Use Strong Passwords: Protect your website by using strong, unique passwords that combine letters, numbers, and special characters. For better security, update them every 90 days.
- Limit Login Attempts: Reduce the risk of brute-force attacks by limiting login attempts. A security plugin can automatically block users after three incorrect password entries.
- Two-Factor Authentication (2FA): Strengthen login security by enabling two-factor authentication. This requires an additional verification code from apps like Google Authenticator, making unauthorized access much harder.
Extensive FAQ: Common Beginner Questions
Q: How much does it cost to build a website from scratch? A: You can start for as little as $50-$100 per year. This covers your domain ($15) and basic hosting ($40-$80). Most essential plugins and themes have excellent free versions.
Q: How long does it take to learn? A: You can have a basic site live in 2 hours. However, mastering design and SEO is a journey. Expect to spend 2-4 weeks getting comfortable with the WordPress ecosystem.
Q: Do I need to learn HTML or CSS? A: No. While knowing basic code helps with fine-tuning, modern “Block Editors” and page builders allow you to build complex sites without writing a single line of code.
Q: How do I get my site on Google? A: Google will eventually find your site on its own, but you can speed up the process by creating a Google Search Console account and submitting your XML sitemap.
Q: Can I change my theme later without losing my content? A: Yes! WordPress separates your content (stored in a database) from your design (the theme). You can swap themes at any time, but you may need to adjust some layout settings.
Building Your Future
Building a website from scratch is one of the most rewarding skills you can acquire in the 21st century. It is the bridge between your ideas and a global audience. Whether you are building aniilroy.com like a personal brand, a portfolio, or a source of passive income, the principles remain the same: Prioritize speed, focus on the user, and never stop creating valuable content.
The digital world is waiting for your voice. Don’t wait for the “perfect” time—there isn’t one. Start today, iterate tomorrow, and watch your digital presence grow.
Next Steps for Success
Now that you’ve completed the ultimate guide, it’s time to move forward with action.
- Register your domain: Your first step is to register your domain name and establish your online identity.
- Choose a hosting provider: Choose a reliable and affordable hosting provider that includes a free SSL certificate and SSD storage. If you select a host from my recommended list, you’ll also receive an additional 20% discount on your hosting plan.
- Install WordPress: Once your hosting is set up, install WordPress and begin experimenting with the Astra or Blocksy theme to design and customize your website.
If you found this guide helpful, consider sharing it with other aspiring creators. Every successful website starts with a single step toward reaching 100,000 visitors. 🚀
Final Thoughts:
In the modern digital landscape, a website is no longer a luxury; it is your digital headquarters. Whether you are an entrepreneur looking to disrupt an industry, a creative professional showcasing a portfolio, or a thought leader building a community, your website is the only piece of digital real estate you truly own. Unlike social media profiles, which are subject to algorithm changes and platform whims, a website gives you absolute control over your brand, your message, and your data.